
The 15-Minute Maintenance Routine
A step-by-step garage door checklist you can actually finish in 15 minutes — balance test, lubrication, hardware, weatherstripping, and the safety-reversal test — plus a clear line on what not to touch yourself.
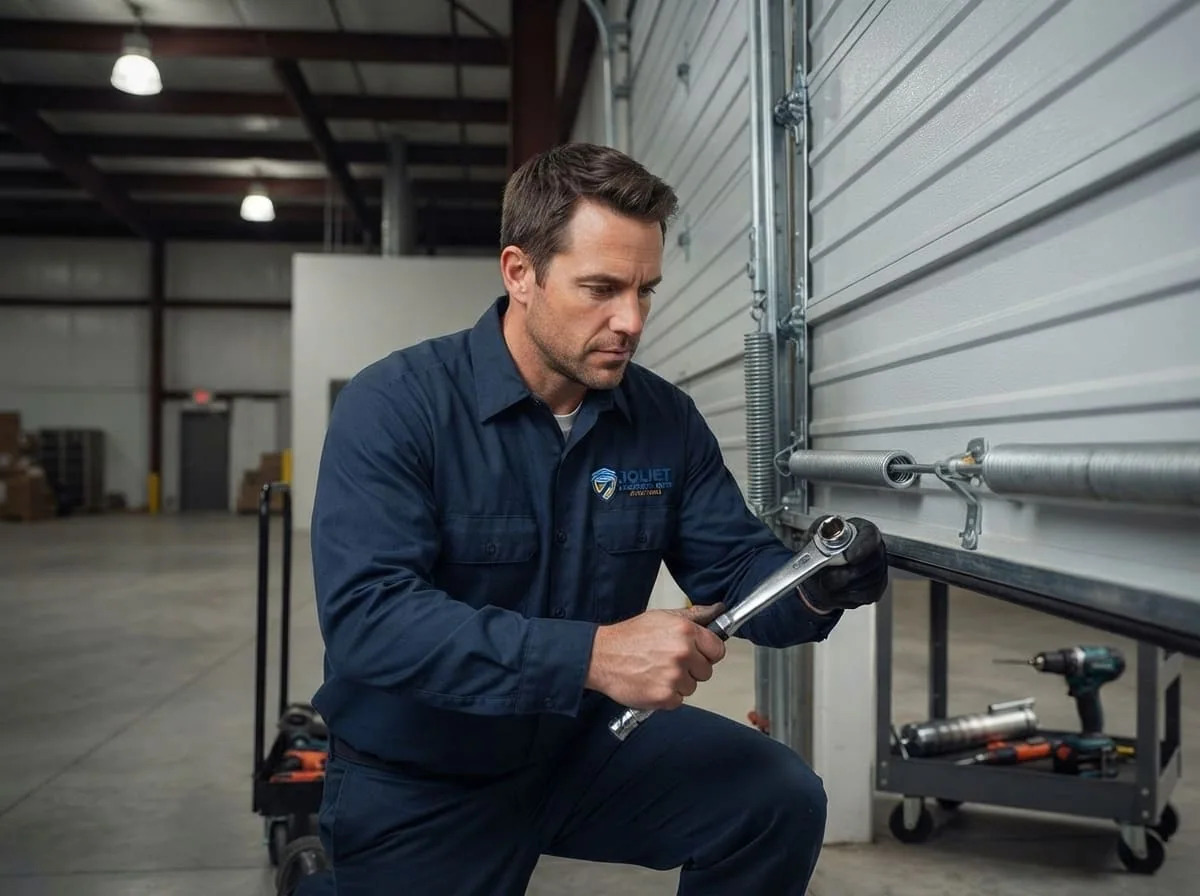
Why 15 Minutes, Twice a Year, Actually Matters
Most garage door service calls I run in Joliet aren't for parts that failed out of nowhere. They're for parts that wore out quietly over a year or two while nobody was looking — a roller that finally seized, a hinge bolt that backed itself loose from vibration, weatherstripping that cracked and let winter air pour into the garage. None of that requires a technician to prevent. It requires about 15 minutes, a step ladder, and a checklist you actually follow instead of one you mean to get to.
Will County gives garage doors a rough year. Winter mornings in the 16°F range are routine here, and that cold makes steel components contract, which is part of why torsion springs lose tension and fail more often in January than in July — something we've written about separately for anyone who wants the deeper mechanical explanation. Cold also makes nylon rollers brittle and thickens the grease inside an opener's gear housing, so it works harder for the same lift. Then summer swings the other way, with heat and humidity that expand wood-framed openings and swell weatherstripping. A door that was perfectly adjusted in April can genuinely need a different adjustment by November, and freeze-thaw cycles under the slab can shift track alignment by a few millimeters — enough to matter, not enough to notice unless you're looking.
This routine won't fix a broken spring, a snapped cable, or a bent track. It's built to catch the small stuff before it becomes those things, and to tell you when it's time to call someone instead of reaching for a wrench.
Before You Touch Anything: What's Off-Limits
Two components on this list are not part of your 15 minutes, and I mean that as more than a liability disclaimer: torsion springs and lift cables. A torsion spring above your door is wound under enough stored tension to lift 200+ pounds of door, and that tension doesn't go away just because the door is closed. If a spring is rusted, has a visible gap in a coil, or the door slams down instead of lowering smoothly, that's a call to a technician, not a project. Cables are the same story — they're under load any time the door is off the ground, and a frayed cable can snap without warning.
I've been doing this work since 2015, and before that I spent years as a technician for a regional overhead door company. Early on, I watched a coworker get badly hurt when an extension spring let go during a rushed repair. That's not a story I tell to be dramatic — it's why every technician who works for me hears it before they're allowed near a torsion spring unsupervised, and it's why this checklist draws a hard line around springs and cables rather than pretending there's a safe shortcut. If you take one thing from this article, take that line.
Everything below — balance testing from outside the spring system, lubrication of moving contact points, hardware, weatherstripping, and the electronic safety-reversal test — is genuinely safe for a homeowner with basic tools and a stepladder.
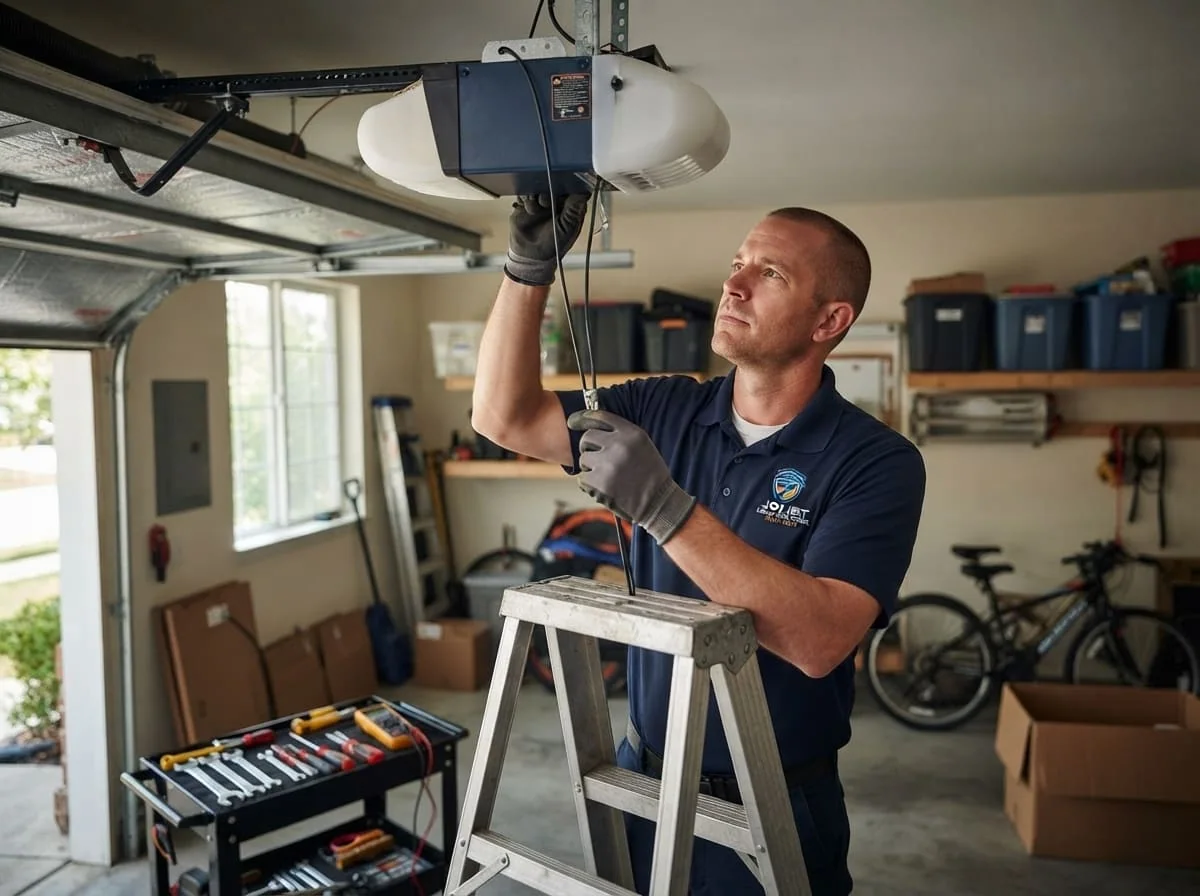
Step One: The Visual Balance Test (2 minutes)
This is the single best early-warning test for spring wear, and it takes almost no time. With the door fully closed, find the release cord on the opener trolley (usually a red handle hanging from the rail) and pull it to disconnect the door from the opener. You're now operating the door entirely by hand.
Lift the door manually to about waist height, roughly halfway up, and let go. A properly balanced door with healthy springs will stay right where you left it, or drift down just an inch or two. That's the springs doing their job of counterbalancing the door's weight.
- If the door falls closed on its own, the springs have lost tension — common after a hard winter, and worth a look from a technician before it gets worse.
- If the door shoots upward when you let go, the springs are over-tensioned, which is its own hazard and also not a DIY adjustment.
- If it stays put, reconnect the opener and move to the next step with confidence that the springs are pulling their weight correctly.
Reconnect the trolley to the opener carriage before you do anything else — an unlatched trolley means the opener isn't actually controlling the door, even though it looks connected.
Step Two: Lubricating Rollers, Hinges, and Tracks (4 minutes)
This step gets more damage done by the wrong product than by skipping it entirely, so start with what not to use: WD-40. It's a fine cleaner and light rust penetrant, but it's a solvent, not a lubricant — it evaporates and can actually strip existing grease off bearings, leaving things drier than before you sprayed. Use a lithium-based or silicone-based garage door lubricant instead; they're inexpensive and sold at any hardware store in Joliet.
With the door open, work your way along both sides:
- Rollers — a light spray at the bearing where the roller stem meets the wheel, not soaking the nylon or steel wheel surface itself.
- Hinges — the pivot point of every hinge along each panel seam, where you'll see the metal flexing as the door moves.
- Tracks — wipe the inside rail with a clean rag first to pull out built-up grit and old grease residue, then apply lubricant sparingly to the track's contact surface, not the roller's rolling path itself, which should stay relatively clean and dry.
- Opener chain or belt — a thin bead along the length if it's chain-driven; belt-driven openers generally don't need lubrication at all, so check your opener type before assuming this step applies.
Run the door up and down once by hand afterward to work the lubricant into the moving parts, then wipe away any excess that drips — excess just attracts dust.
Step Three: Tightening Hardware (3 minutes)
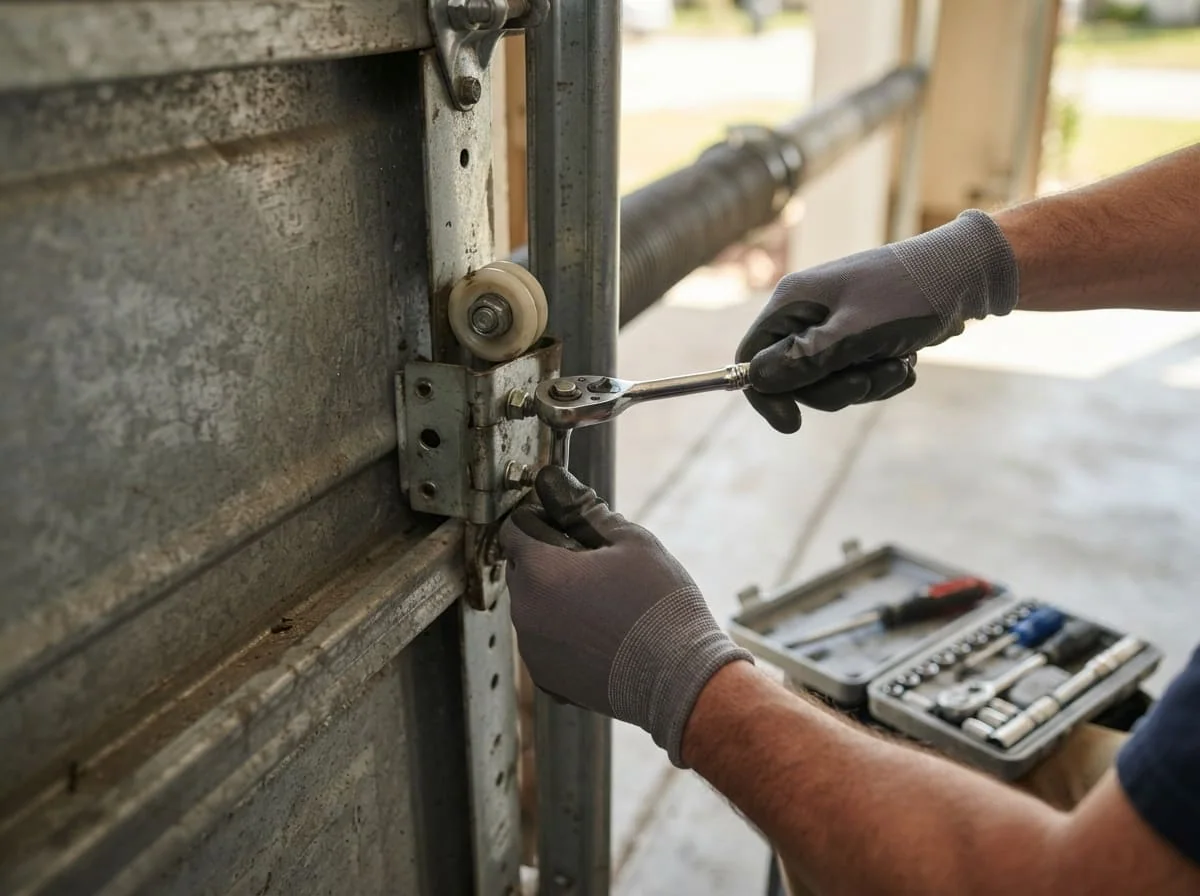
A garage door opens and closes roughly 1,500 times a year in an average household, and that vibration works bolts loose over time — the same way any repeatedly-cycled mechanical assembly does. Go along both tracks with a socket wrench and check the lag bolts holding the track brackets to the framing, the bolts on the roller brackets at each hinge, and the hinges themselves where they meet the door panels.
Snug anything that's visibly loose, but don't overtighten — hardware that's cranked down harder than it was engineered for can crack an aging hinge or strip a bolt hole in the track bracket. You're looking for "no longer wobbles," not "as tight as the wrench will go."
While you're at it, look closely at the track brackets themselves for elongated or oval-shaped bolt holes, which mean the bracket has been pulling slightly away from the frame under stress — tightening the bolt won't fix that; it needs a repair to the mounting point itself. That's a track repair, not a hardware tightening, and it's worth having someone look at before the track pulls further out of alignment.
Step Four: Checking Weatherstripping and Seals (2 minutes)
The rubber seal along the bottom of the door, and any vinyl retainer strips along the sides or top on doors that have them, take a beating from Joliet's temperature swings. Rubber that's flexible and pliable in July can turn stiff and crack-prone by February, and once it's cracked or compressed flat, it stops doing its job — sealing out cold air, snowmelt, and small animals looking for a way in.
Run your hand along the bottom seal and flex it. It should have some give and spring back to shape. If it's hard, cracked, or visibly flattened where it's been pressed against the slab for years, that's a low-cost fix that's genuinely worth doing before winter rather than during it.
A simple way to check for gaps: close the door at dusk and have someone stand inside the garage with the interior lights off. Daylight visible around the edges of the door means the seal isn't making full contact, which is worth tracing back to either worn weatherstripping or a door that's sitting slightly off its track — both fixable, but different problems.
Step Five: The Auto-Reverse Safety Test (2 minutes)
This is the step that actually matters for safety, not just maintenance, and it takes under two minutes. Modern garage door openers are required to have two independent safety-reversal systems, and both are simple to test yourself.
- Photo-eye test — close the door using the wall button, then wave a broom handle or similar object through the beam of the two small sensor eyes mounted a few inches off the ground on either side of the opening. The door should stop and reverse immediately. If it keeps closing, the sensors are misaligned, dirty, or wired incorrectly — stop using the opener until that's resolved.
- Mechanical resistance test — place a 2x4 board flat on the ground in the door's closing path and trigger the door to close. It should reverse the moment it contacts the board rather than continuing to press down on it. This is the backup system if the photo eyes ever fail or get bumped out of alignment.
The U.S. Consumer Product Safety Commission has pushed for exactly this kind of auto-reversal testing as a basic home safety habit, particularly in households with kids or pets who could end up under a closing door. If either test fails, don't try to diagnose the sensor wiring yourself — it's a fast fix for a technician and not one worth guessing at, since it's the one system standing between a closing door and someone underneath it.
Step Six: Listen, Look, and Log (about 1 minute)
Run the door up and down one more time, and just pay attention. A healthy door should move with a fairly consistent, low mechanical hum. New noises are almost always information:
- Grinding or scraping often means a roller has worn down to metal-on-metal contact, or debris has built up in the track.
- Sharp popping or banging can point to a spring under uneven tension or a loose hinge finally giving way — worth a professional look promptly rather than waiting for the next scheduled checkup.
- A new rhythmic squeal tends to be a roller or hinge that's simply due for lubrication, which you've likely just addressed in Step Two.
Jot down the date and what you noticed, even just a note in your phone. When a noise does need a technician, that log turns a vague "it's been making a weird sound for a while" into specific, useful information — when it started, what it sounds like, and whether it's gotten worse — which speeds up an accurate diagnosis considerably.
How Often to Run This in Joliet's Climate
Twice a year is the right baseline for most Joliet households, and the easiest way to remember it is to tie it to the clock changes: once in the fall before the hard cold sets in, and once in the spring after the freeze-thaw cycles have finished shifting things around. That timing lines up with the two periods when Illinois weather does the most damage to garage door hardware — the fall check catches summer-loosened hardware and swollen weatherstripping before winter cold makes everything brittle and tight, and the spring check catches whatever the freeze-thaw cycles knocked out of alignment over the winter.
The auto-reversal safety test in Step Five is worth doing more often than that — monthly is a reasonable habit, since it takes under two minutes and it's the one part of this routine tied directly to someone's physical safety rather than the equipment's lifespan. Households with young kids, dogs that dart around the driveway, or an older door with an older opener have the most reason to keep that one on a tighter schedule.
If you go through this whole routine and something doesn't look right — a spring that's clearly lost tension, a track bracket pulling away from the frame, a sensor that won't reset no matter how you align it — that's exactly the kind of thing worth getting a second set of eyes on before it turns into a Saturday morning with a door that won't open at all. We provide free upfront quotes and can usually get a technician out same-day.

Danny Kowalski
Owner and lead technician at Joliet Garage Door Repair Solutions, serving Joliet, IL since 2015.
FAQs
Can I lubricate or adjust my garage door springs myself?
No — leave springs alone entirely. Torsion springs are wound under enough tension to lift a few hundred pounds of door, and that tension is present whether the door is open or closed. Adjusting, lubricating, or replacing a spring without the right tools and training is a genuinely dangerous job, which is exactly why it's excluded from this checklist. If a spring looks rusted, gapped, or the door fails the balance test, that's a call to a technician.
What lubricant should I actually use on garage door parts?
A lithium-based or silicone-based garage door lubricant, applied lightly to rollers, hinges, and track contact points. Avoid WD-40 for this purpose — it's a solvent that evaporates quickly and can strip existing lubrication rather than replace it, which leaves parts drier over time instead of better protected.
How often should I really do this checklist living in the Joliet area?
Twice a year covers most households well — once in fall before winter cold sets in, and once in spring after freeze-thaw cycles have finished shifting the ground and slab. Illinois' temperature swings are hard on springs, rollers, and weatherstripping in both directions, so tying the checklist to the seasonal clock changes is an easy way to stay consistent.
My door doesn't reverse when it hits something — is that actually dangerous, or just an inconvenience?
It's a real safety issue, not a minor quirk. The auto-reversal system is what stops a closing door from continuing to press down on a person, pet, or object underneath it. If either the photo-eye test or the mechanical resistance test fails, stop using the opener until a technician checks the sensor alignment and wiring.
How do I know if my garage door is out of balance, and does it matter?
Disconnect the opener, lift the door by hand to about waist height, and let go. A balanced door stays roughly in place; one that falls or shoots upward has a spring tension problem. It matters because an unbalanced door makes the opener work harder than it's designed to, which shortens the life of the opener motor and gears in addition to being a sign the springs need attention.
Does this kind of routine maintenance actually prevent things like spring failure, or is it just good practice in general?
It genuinely helps. Torsion springs are rated for a set number of open-close cycles, and things like a door that's out of balance, dirty or dry rollers, or a track slightly out of alignment all make the opener and springs work harder per cycle than they need to — effectively using up cycle life faster. Regular maintenance doesn't make a spring last forever, but it removes the avoidable stress that causes many springs to fail well before they should.
Have a Garage Door Problem Right Now?
Skip the guesswork — call Joliet Garage Door Repair Solutions for a fast, honest diagnosis.